DIY Plant Pots
It always gets to the early spring and I realise that I never have enough pots to hold the amount of seeds we inevitably over-sow. Call us keen, my husband one year planted an entire packet of chilli seeds! Blimey that was a lot of plant babies!
We have a nifty little wooden pot maker which we’ve had for 3 years now. It’s a wonderful little tool and doesn’t show any signs of aging, despite our 3 year old playing with it (fyi, we call him the “destroyer” for leaving a wake of destruction in his path!) But it got me thinking, there’s no real need to buy a tool to do a job you can quite easily do with things found in your home and on your travels.
So, this version is using some very simple bits and pieces found around your home. I’d love to see your finished pots, please feel free to whizz any pictures over for us.
Materials Needed:
A newspaper
Scissors
A glass jar
The thinner the jar, the thinner your plant pot and vice versa. Peas like to grow very long roots so long thin plant pots tend to work well for them.
We use Sainsbury’s herb and spice jars for so many things in our house, they’re just the right size.
The jar doesn’t need to be as tall as your final pot, the jar just needs to have the desired width
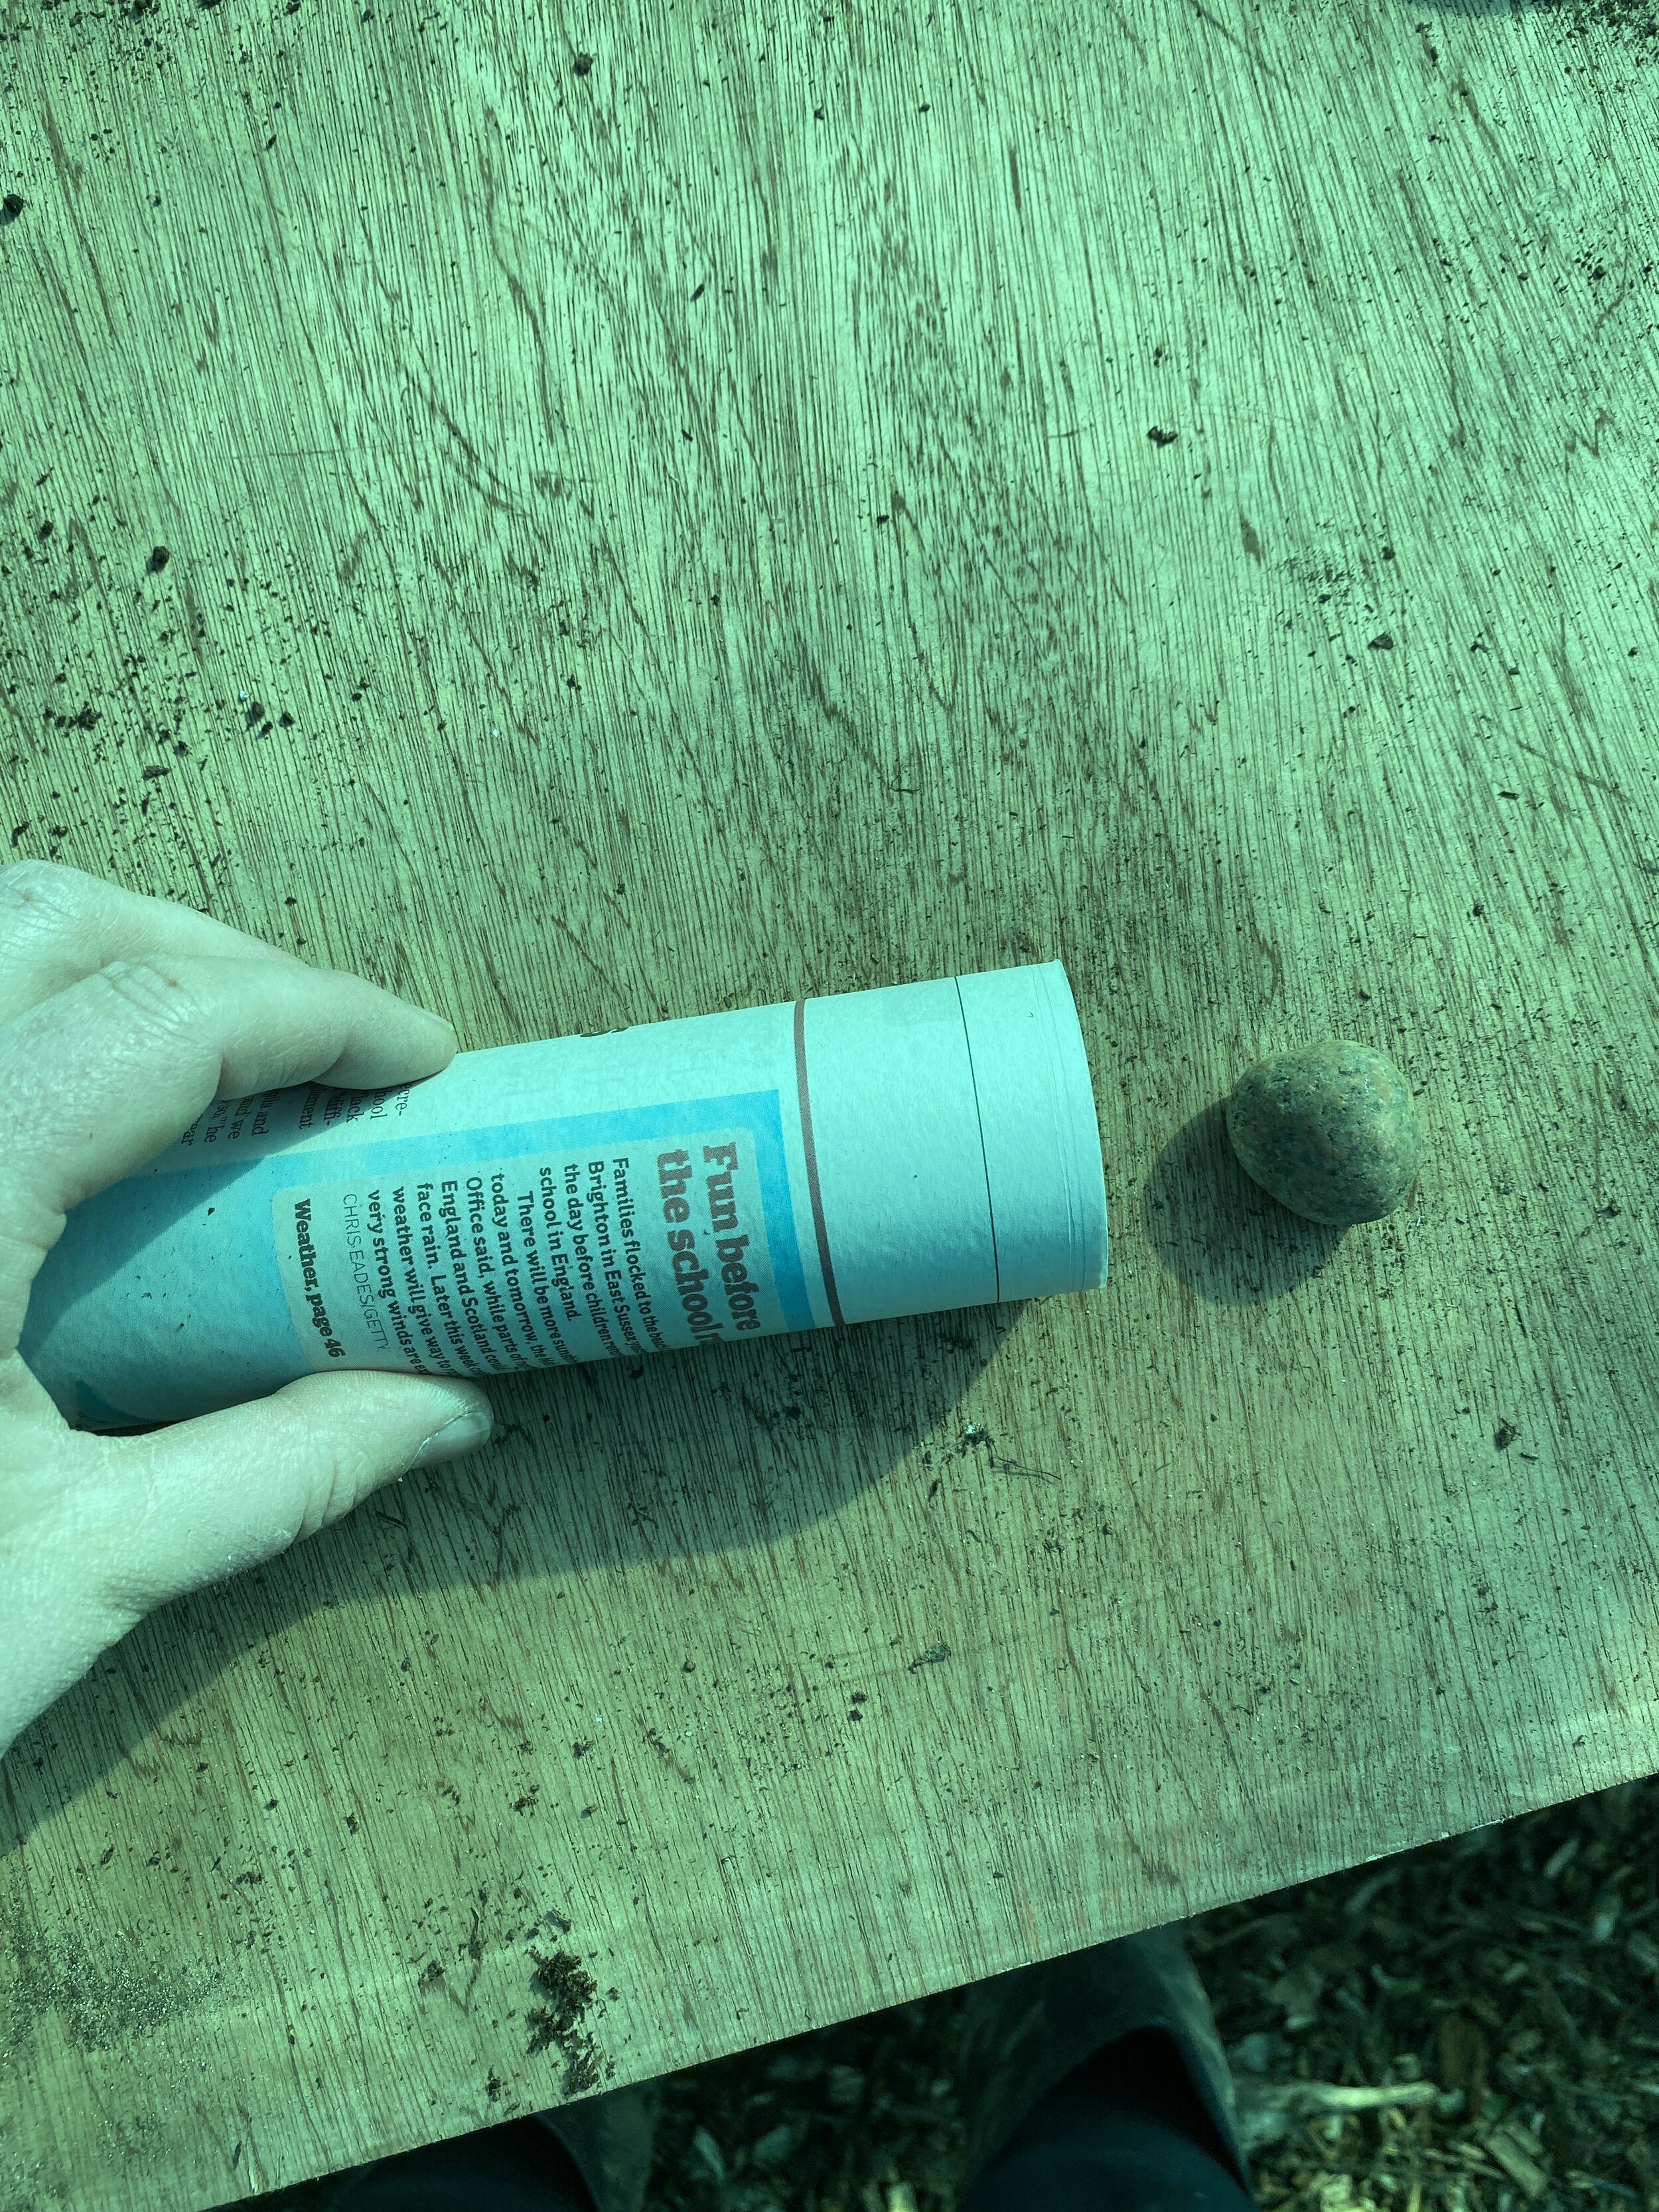
A rock which fits inside the rim of your jar with space around it.
All these pictures were taken in the polytunnel so you’ll have to excuse the strange bluey-green tint.
Cut your newspaper 30cm long and however wide you’d like your final pot to be. The width of the piece will be the height of your pot.
I like to use 2 pieces of newspaper to make sturdier pots.
Be sure to position your jar so the open end faces the end you’ll be tucking in.
Starting at the end of your paper, place your pot 3-5cm away from the edge and begin rolling the paper around your jar.
When you get to the end, hold it securely so it doesn’t unravel.
Fold in the edges, starting with the outer edge flap of your paper. All the edges should neatly fold one on top of the other.
Then, taking your stone, place the jar over the top of it. Gently push down so the stone pushes the folded paper edges into the open jar. You’ll want to push firmly but not with vigour so as to rip the paper.
It should look like this.
If your stone gets stuck, just gently lift it out with your finger.
If you make sure to fold the edge flap of the paper in to the centre first it seems to secure it better.
You’re done!
These tend not to stand particularly well on their own but buddied up with a group in a large fruit punnet or tray they do just fine.
If you sit them in a little compost, the roots of your plant grow down and out the bottom of the pot. A little compost in the bottom helps keep the pots moist but not drenched.


